This simple How To will teach you how to install the Outlook client for your Microsoft Dynamics CRM 2013 or Dynamics CRM Online account. The Outlook client will allow you to track important email messages and attach them to customer records in your CRM.
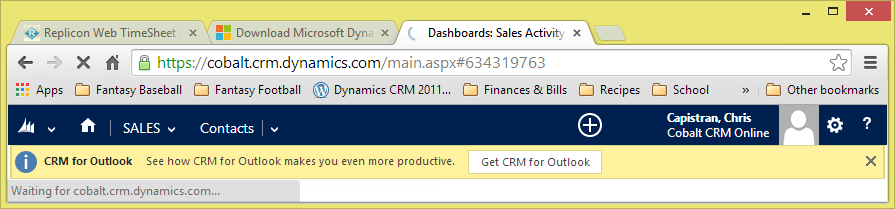
Step 1. Login to your CRM 2013 account.
Login to your Dynamics CRM system via a web browser.
Step 2. Click Get CRM for Outlook
Click on the “Get CRM for Outlook” button that appears at the top of your system. This should begin the download. If you do not see the alert, you can download the Outlook client here. Then follow the prompts to install. Note that you must close Outlook first.
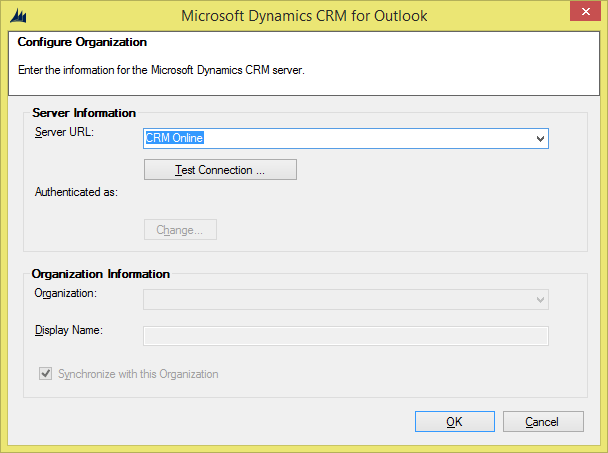
Step 3. Launch the Configuration Wizard.
Note: If your computer is shared by several users (each user has a separate logon account and is a Microsoft Dynamics CRM user), you must configure CRM for Outlook by running CRM for Outlook configuration for each user.
Once you’ve completed the install, you can start tracking emails in Outlook and attaching them to records in your CRM.
Learn how Cobalt does email marketing with Dynamics CRM 2013 and ClickDimmensions.